Connector Quick Start
Start Connector
Unpack the distribution and run the start script located in the installation bin directory.
LINUX
./connector
WINDOWS
./connector.bat
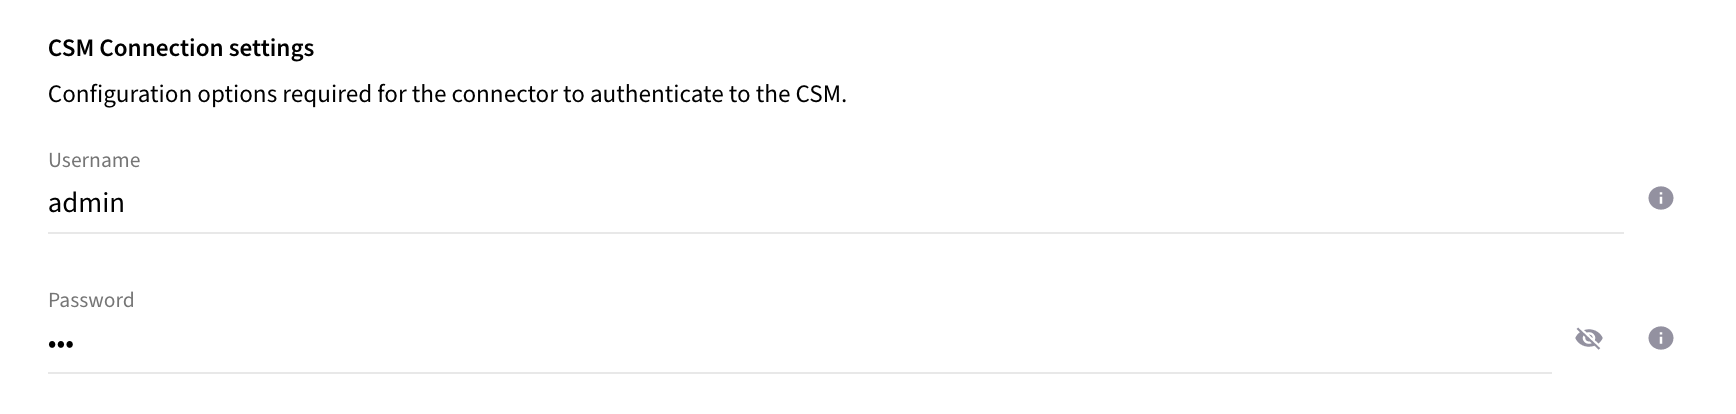
Login to Connector
Once the Connector has started, navigate to the Admin UI and login with the default username and password, admin/admin:


Upload License
-
Contact Raytion and obtain a license for your connector
-
Login to the Admin UI
-
Select License in the menu:
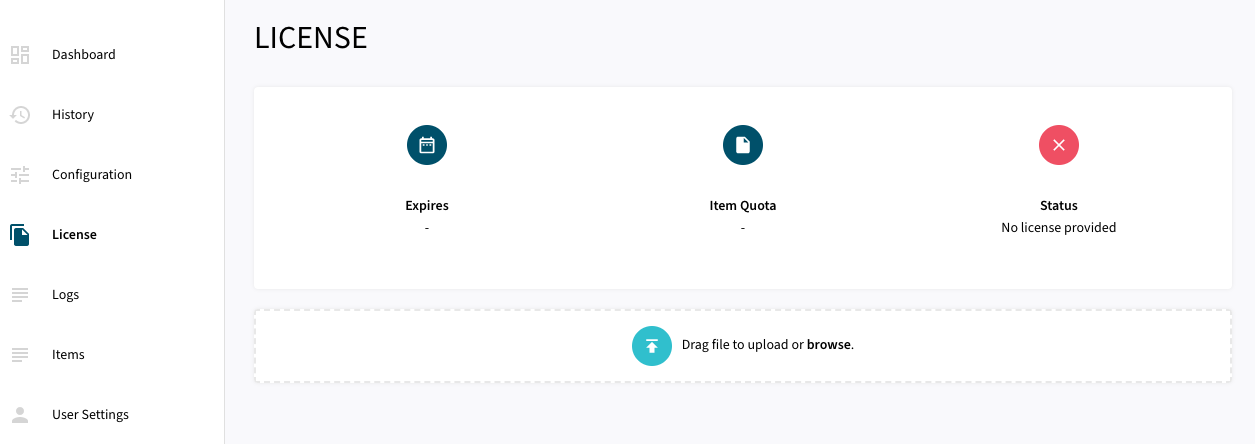
-
Upload the license file by browsing for the file or simply dragging a dropping the license onto the license page
-
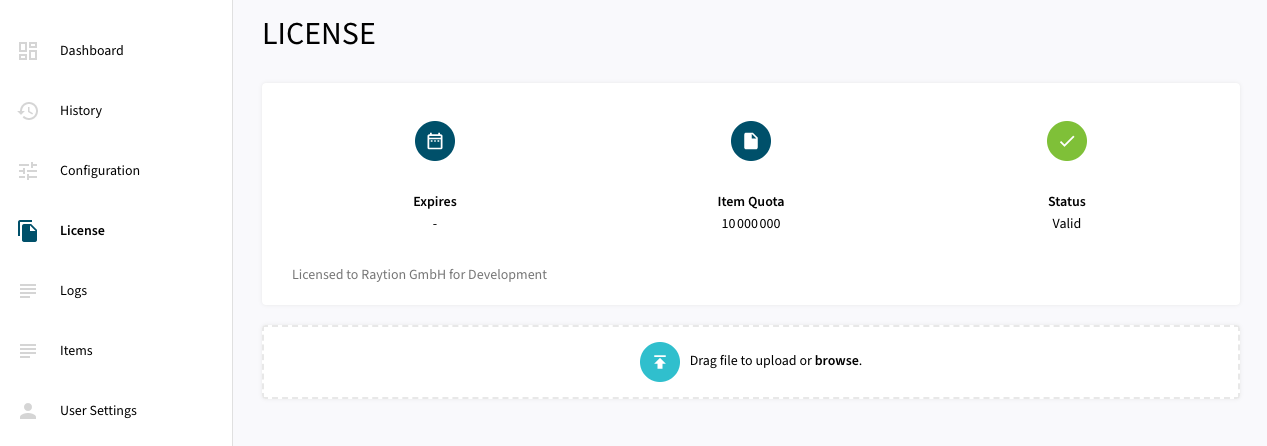
The Status of the license will be displayed as valid, and the expiration and item quota will also be displayed:
Synchronizing Data
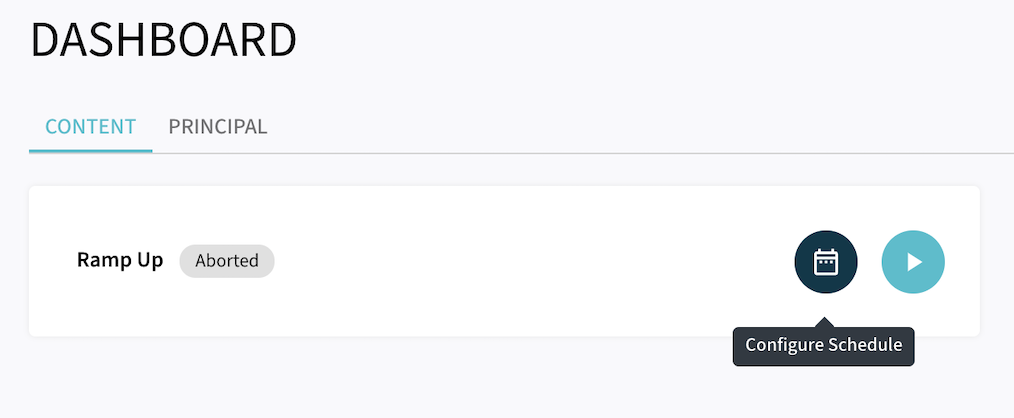
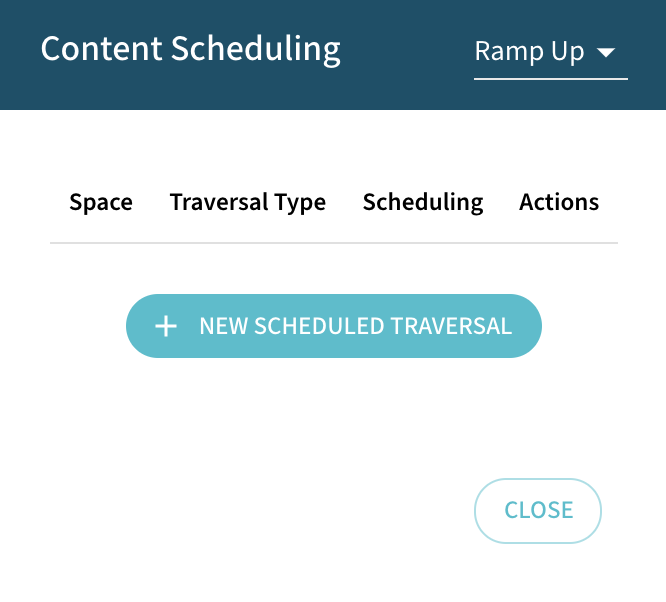
Once the connector is configured and the license uploaded, you can start synchronizing data using the traversal feature in the dashboard.
Content Traversal
-
Ramp Up will process all items to Dassault Systemes Netvibes CloudView.
-
Incremental will process only changed items since last traversal run.