Netvibes CloudView Quick Start
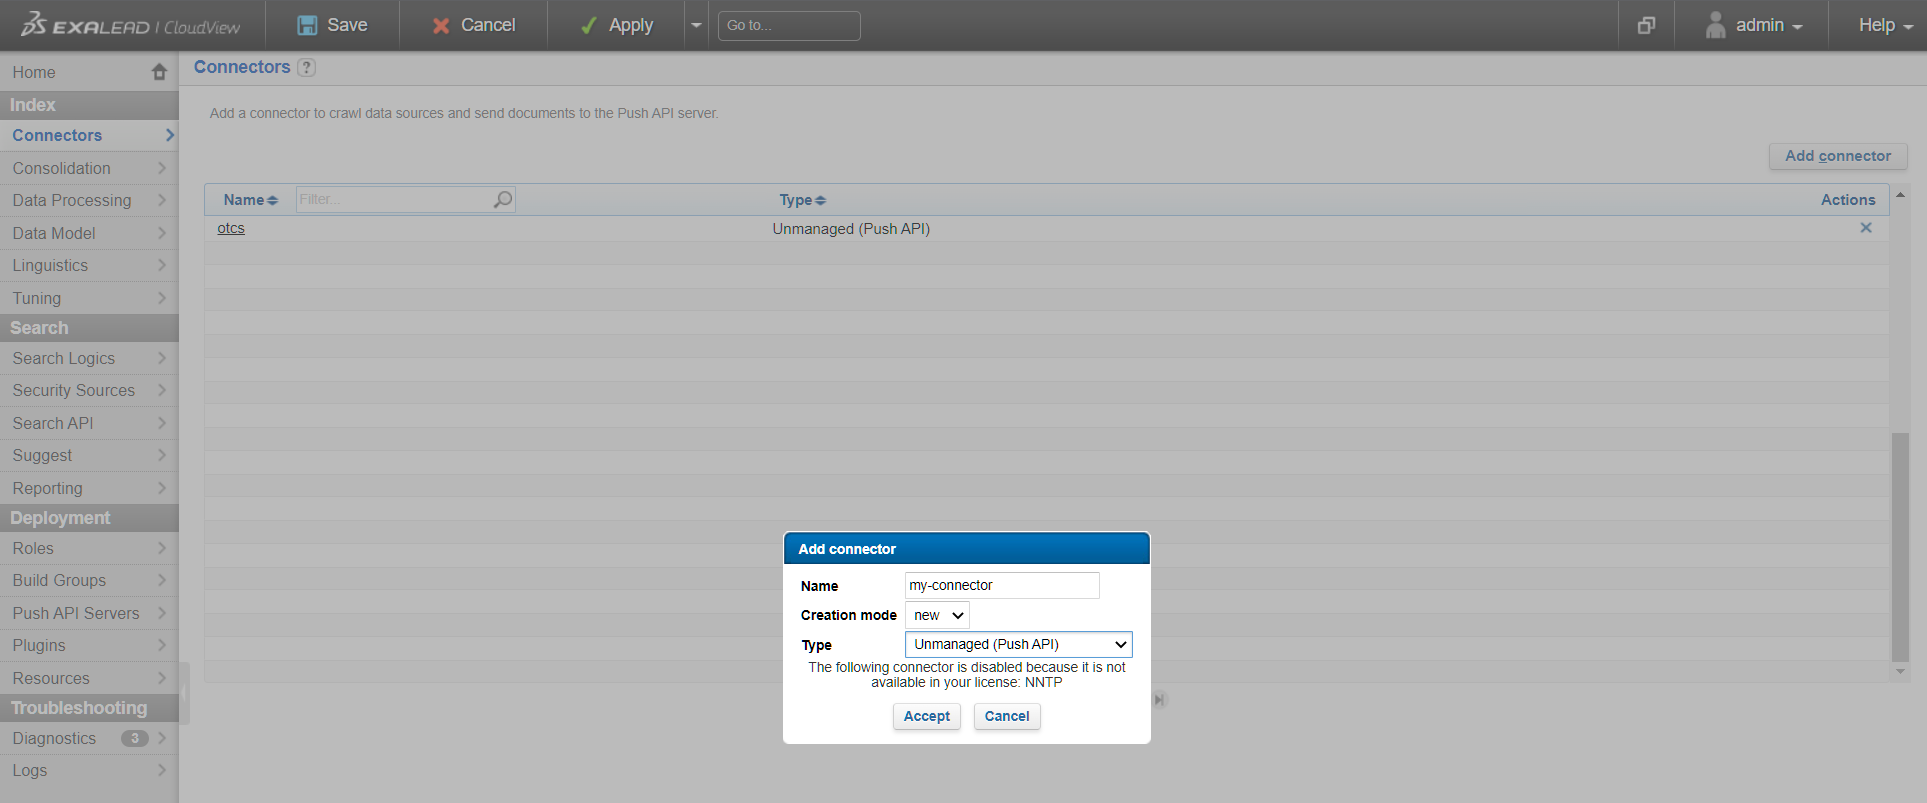
Connector
To push items into Netvibes CloudView, you first have to register the connector within your Netvibes CloudView instance.
First, navigate to the Netvibes CloudView Admin Console of your instance under http://<CLOUDVIEW_INSTANCE_HOST>:10001/admin/#home where CLOUDVIEW_INSTANCE_HOST is the Host of your Netvibes CloudView instance.


From this point on you could already push items into Netvibes CloudView. Most likely, you will want to set up a Security Source before you proceed though.
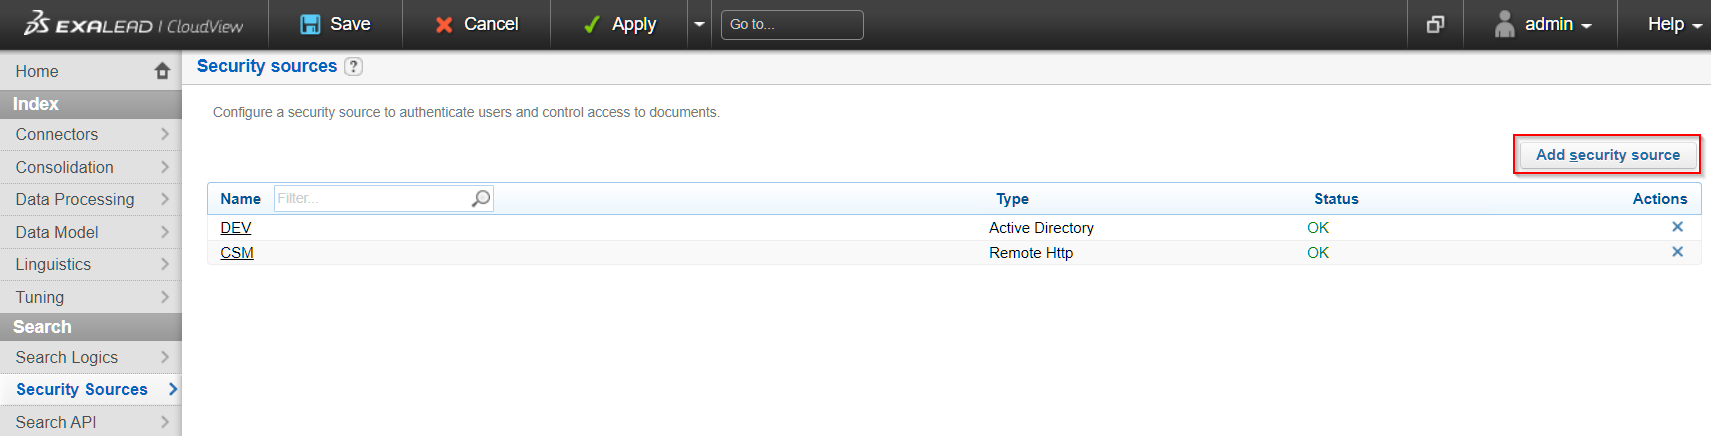
Security Source
A security source is necessary to provide Netvibes CloudView with security information and distinguish between who can and can’t see an item within Netvibes CloudView. Netvibes CloudView offers different options for Security Sources, as for example a Microsoft Active Directory Security Source. For more information on that, please refer to your Netvibes CloudView documentation.
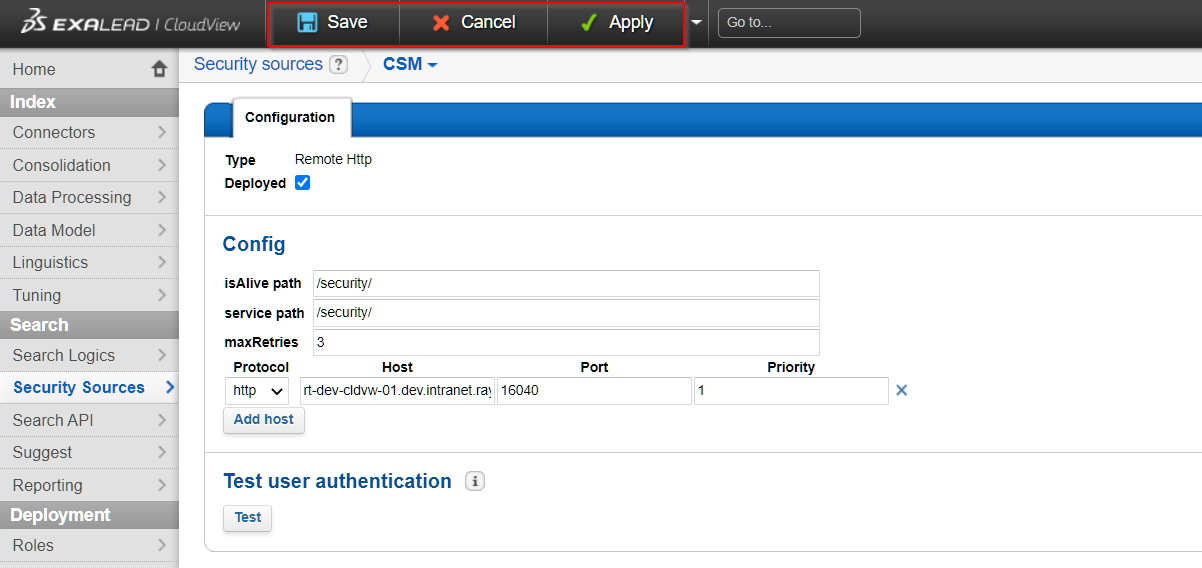
Alternatively, the connector generates security tokens in the form of remote:<ID> which can be used in conjunction with a Remote HTTP Security Source.
To start, navigate to Security Sources under Search on the left sidebar.